
Handmade Advent Candle Craft with Hen Corner
Every year at the Country Living Fair I try to take in at least one or two crafting workshops. This year, I managed to do THREE. I couldn’t have been happier with my choices, and my favourite one of the lot was the Advent Candle with Hen Corner.
It turns out that making a beautiful Advent candle is super duper easy, if you have all your materials collected it can be done in under 45 minutes. Here’s some of the basic supplies you’ll need:
[amazon_link asins=’B011ABWSDE,B07CBJLNCT,B0776F8MNH,B01BTNALW8′ template=’ATCAmazon-IMG’ store=’allthingsch0e-20′ marketplace=’US’ link_id=’08c4606e-f7a2-11e8-9ed0-1bcc63781702′]
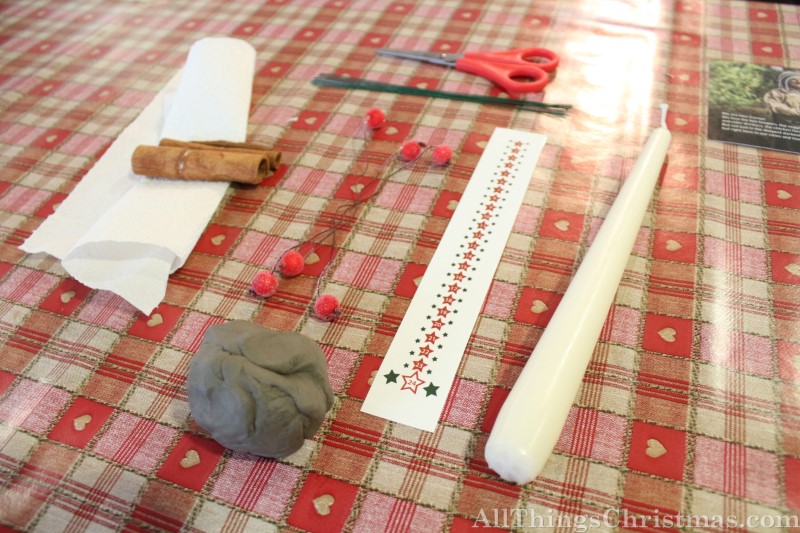
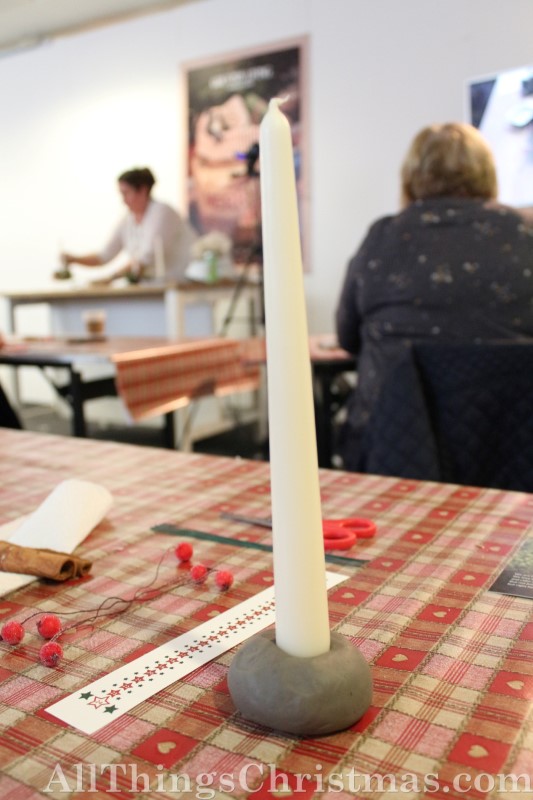
To get started you’ll want some air-dry clay (pictured above in grey, but you can use white. If sturdy enough to hold your candle, you could also use florists foam. Simply make a ball, and fit the candle end in to make the candle holder shape.
Previously you’ll want to have printed off a countdown template on to the water transfer pages. Cut out just the strip you need for a single candle, and soak when you’re ready to use it.
Once the transfer is loose off the paper back, slide it up the (dry) candle. It’s actually a lot easier than it sounds.

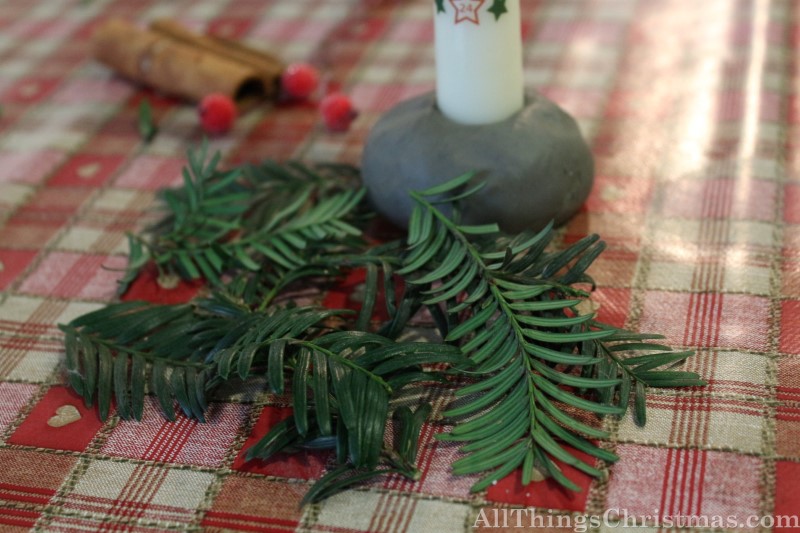
You might want to set it aside for a minute or two to dry, first take a paper towel and pat off any access water. You can get started on your base. Collect leaves from your garden, from a park, or you can even buy some amazing fake greenery at Dollar-stores and Craft Shops. Use bushy, soft branches at the bottom to cover the clay, and then add more specific shaped leaves on top.
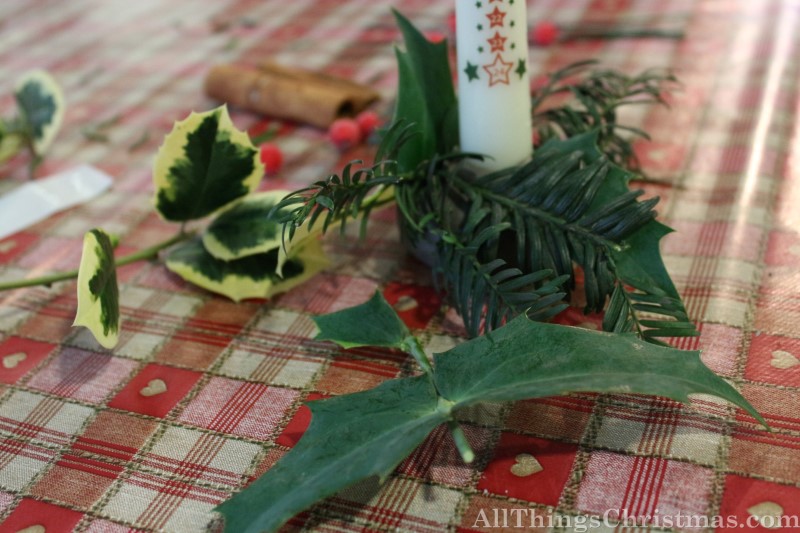
Accessorise with beads, ribbon, cinnamon, dried fruit (like Orange Slices) or whatever you like.. Play around with it – messy is GOOD because it’s more rustic.
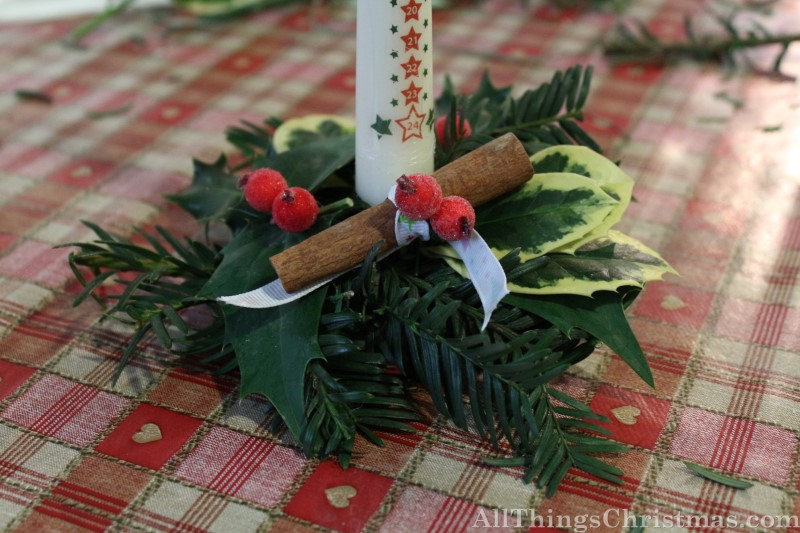
And voila! You have your Advent Calendar, on a wonderful bed of Festive Greenery.
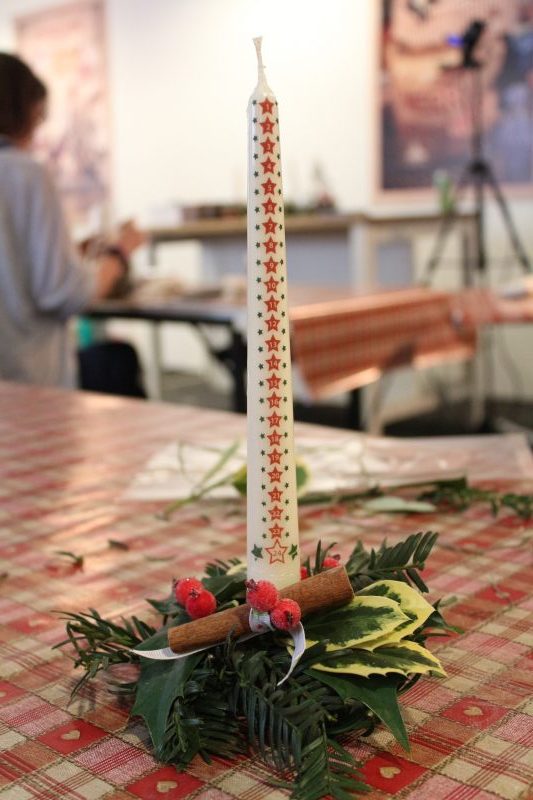
I can’t thank Hen Corner enough for hosting this workshop, which was only £5 and was my favourite one of the day. Here is mine, all lit up on December 1st, and feared on the Hen Corner Instagram.
Merry Christmas, Everyone!


Leave a Reply