DIY Decorations: Create your own Christmas Garland
This is a Guest Post by Becky of The Lifestyle Blogger UK
I absolutely LOVE this time of year when people begin to talk about their plans for Christmas; who is going to be where for Christmas dinner, who is going to be making the Christmas dinner, the subtle (or not so subtle) hints for Christmas gifts…etc. I know most people like to wait until at least November before broaching the subject but as soon as October comes I’m all in!
The preparation begins for the Christmas cake, soaking the fruit in as much brandy and rum as possible before baking the cake and adding more alcohol. Lighting candles that smell of Christmas – the sweet orange and cranberry scents with wafts of cinnamon and clove.
Then there are the decorations to start thinking about. What style to go for this year, some thing more traditional and sophisticated or perhaps going down the more cheesy, fun route instead?!
I love to watch youtube videos at this time of year of people, mainly in the US with their big beautiful houses, creating home made garlands to adorn their fireplaces or to have dropped down staircases. Oh to have mansion one day just to be able to deck it out at Christmas! It was actually last year watching one of these videos that I decided to try and create my very own garland (on a much smaller scale) for our bannisters upstairs. They made it look so easy to do that I thought…why not!
So, I went to town (literally), to get everything I would need and got creative. It took a few attempts to get it looking right but every year I do it, the better it will become with more practice. Also, it wasn’t nearly as expensive as I thought it might be, you just have to look in the right places. This year I intend to go around all the Christmas shops after Christmas and get the left over pieces at huge discounts to add to my garland for next year to make it awesome!!
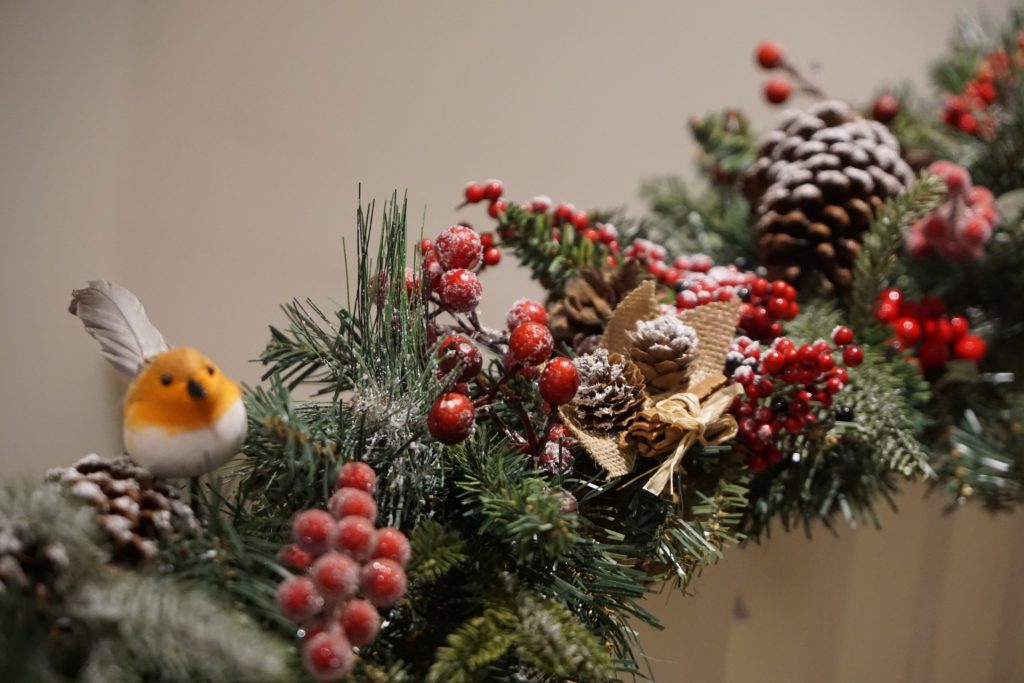
Here is what I used to create this Christmas garland…
What you will need…
- Brown string
- Wire cutters
- Green garden wire
- Command hooks
- Hessian cloth (optional)
We don’t have a full on staircase in our home, we just have the bannisters bit at the top of the stairs so this garland was created just for that area. If you have a full staircase, you will need a lot more to fill it from top to bottom (just to keep in mind).
So after measuring the length of the area I wanted my garland to cover and going out to get all the bits I wanted/needed I began setting it up. I found one long piece of greenery (a bit like tinsel) that I wanted to use as the base of my creation, I figured I could then build on top of it to create the look I wanted and to plump out a bit.
To protect the bannisters, I used a length of hessian cloth which I tied down using the brown string. This really needs to be in a firm, fixed position otherwise your garland will slide all over the place when it’s heavier and filled with your goodies. I then fixed the base piece to the hessian cloth using the string, making sure to hide any loose ends as I went (its so much easier to do it as you go than to do it later on).
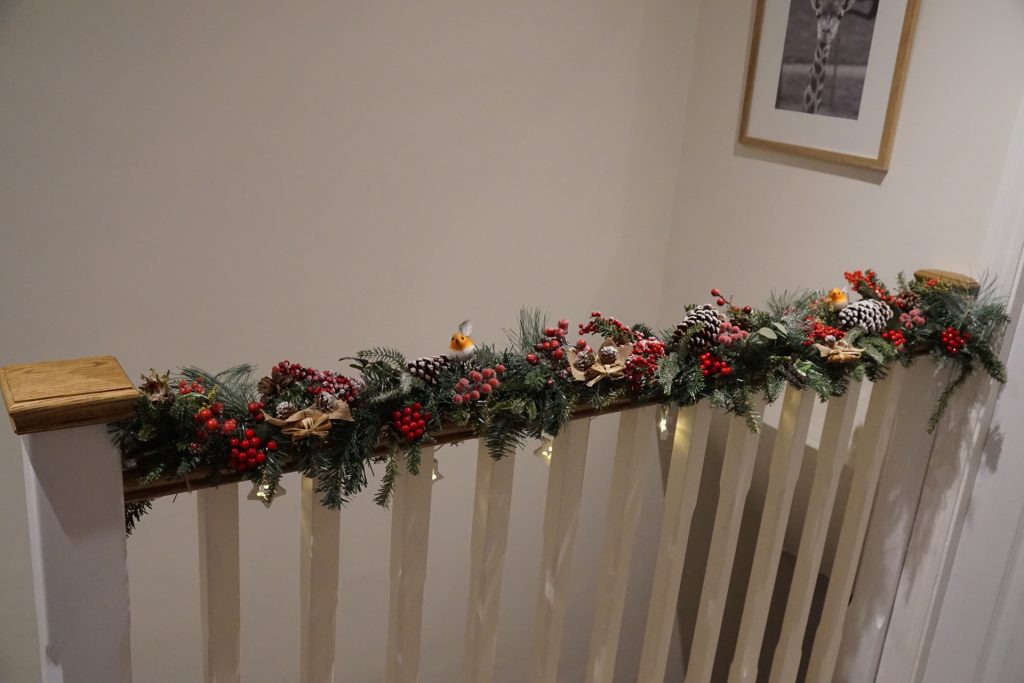
Once I had the base piece in place, I then started to add in the extra pieces. These extra bits were items I had collected over the last few months in various different shops. I either took these pieces apart so I could take the bits I wanted to add to my garland – such as pine cones or clusters of berries, and discarded the rest, or used the whole thing – such as little robins or snow covered holly.
Before fixing anything, my main tip would be to place the item where you think it should go and have a look to see what it looks like first as it might not look as you intended it to. Once you are happy with the placement, fasten it in to it’s place. For this you can either use some green wire, string or you may even be able to use the left over wire on the end of the piece. It is quite fiddly to do but once you have done it a few times, it becomes easier and you’ll get the hang of it. Just be careful as you go so you don’t pull down the rest of your garland…which I did the first time round!
That’s pretty much it, you just want to keep adding more items as you go until you either run of it things to place or you are happy with how it looks.
As you can see in the below photos, I added things like pine cones (some were real that had come from a nearby field), various types of red berries, some cinnamon sticks (again these were actually real ones so they gave off a lovely scent as you walked by), some little robins and more greenery. I also added some little fairy lights to the underside of the garland which gave it a lovely Christmassy glow in the evening.
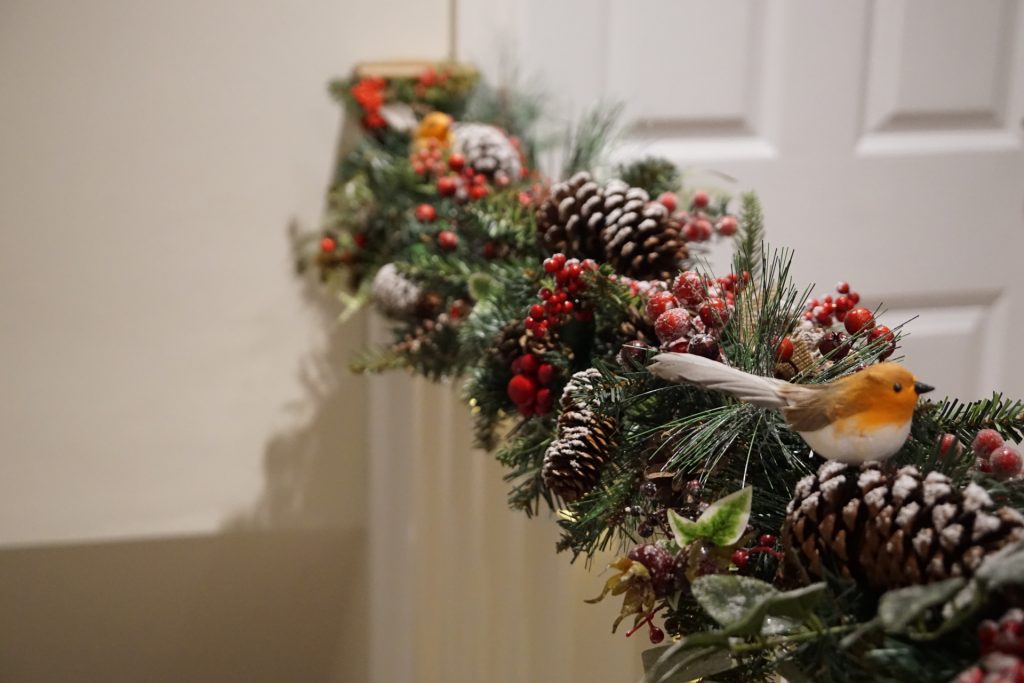
So, here is the finished product…. I would love to know if you try to make your own garland, it was so much fun and really got me in the Christmas spirit. I just can’t wait to get creating again this year!
About the Author
Hi, im Becky, a Cotswold dwelling, 100% British (according to a DNA test), UK based lifestyle blogger with a passion for health & fitness.
I also love creating wacky, yet healthy recipes, looking at beautiful interiors, i have a weird obsession for salad cream and of course i love all things Christmas!


Leave a Reply